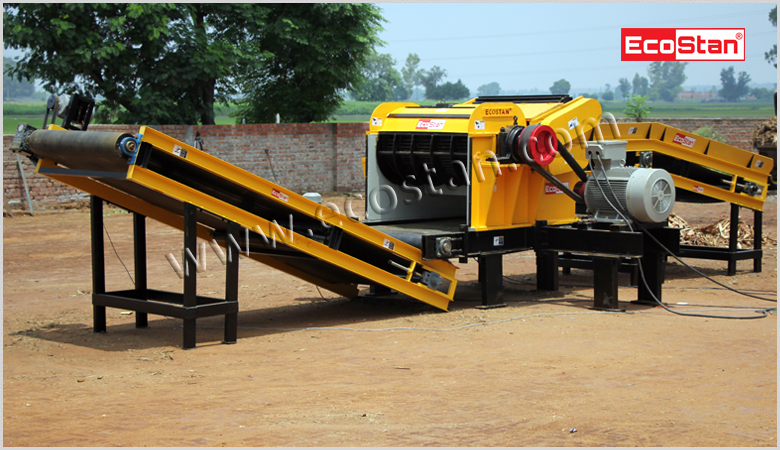
At the end of the day, anyone who has worked with this kind of tool in the field will agree that proper maintenance of equipment is paramount in the line of duty. There is hardly a tool that has more potential for problems than the chipper – a very powerful piece of equipment to cut branches, twigs, and other woody materials into valuable mulch or compost. Embedded at the core of a chipping operation are the chipper blades, which require extreme levels of sharpness to enable efficiency and consistency in chipping. In this blog post, we present you useful tips for chipper blade sharpening and a detailed guide on how to maintain the blades of a drum wood chipper machine properly and use it most effectively for your yard tasks.
Why Sharpen Chipper Blades?
Improved Efficiency: A nice sharp edge will effectively chip away even large pieces and harder appreciable woody matter leaving your debris behind.
Reduced Wear and Tear: Easily worn-out knives increase the workload and stress on the chipper’s engine as well as other components. Sharp blades are also vital as they increase the chipper’s total durability, thanks to proper maintenance.
Better Chipping Quality: The finer calibration is achievable due to the sharp edges of the blades and can be useful for applications such as mulching the end product.
Enhanced Safety: Blunt blades tend to clog or kickback, a situation that might be hazardous to the handler. Some of the key benefits that come with sharp blades include enhanced overall safety while operating the wood chipper.
Step-by-Step Sharpening Process

Remove the Chipper Blades: You can get information on how to remove the blades from your chipper grinder, especially for safety concerns from the user manual. This usually entails the nuts or some kind of locking mechanism to allow the blade to be uncoupled from the rotor stage.
Inspect the Blades: It is also important to carefully check the condition of the blades and their efficiency by looking for any signs of chips and cracks as well as any differences in the wear and tear of the blades. If the damage is so serious as such then it could require the complete replacement of these blades.
Sharpen the Blades: It is recommended to Clamp the blades between a vise or a clamp and you may use an angle grinder or bench grinder for sharpening the cutting edge. Angle: Keep a steady position (ranging between 30-35 degrees) in the wood while passing across the metal surface gently to avoid making the metal too hot.
Balance the Blades: After sharpening, use a balancing tool known as a blade balancer, or else, using your hand and holding the blade near the middle, make sure it is straight. In this case, the vibrations and wear and tear are hastened on the chipper due to the unbalanced blade.
Reinstall the Blades: Safely reinstall the sharpened blades and, in the process, ensure that they are tightly fastened into the correct positions as recommended by the manufacturer in terms of the bolts or locking mechanisms.
Test the Chipper: After putting back the blades, the performance of the wood briquetting chipper should be tested by turning it on. Look for any changes of sounds or shake, and quality of chipped material. Correct any issues related to the positioning of the blade or the tension with which it is set.
Conclusion
It is crucial to pay attention to safety when using any power instrument and the safety of people around you and yourself. It should be remembered that protective gear and clothing need to be worn at all times as stated by the manufacturers of the particular equipment, and no repair work should be done on the equipment when it is still hot or in operation. By taking your time to maintain your chipper blades, you’ll be able to handle your chipping and mulching projects visually around your yard with a lot of ease.